
Standardizing MRI Safety with 10 Easy Steps
MRI exams can bring up a mix of feelings for patients; some may feel anxious about the noise, the confined space, or what the exam might involve. Efforts at UCSF Department of Radiology & Biomedical Imaging are underway to make MRI appointments safer, more predictable, and more comfortable for every patient. A new initiative led by UCSF's MR Safety Committee focuses on clear communication, thoughtful preparation, and consistent practices designed to improve the patient experience.
As part of this preparation, patients are asked to change into a gown and leave all jewelry at home. Some fabrics contain hidden metal fibers that can cause burns during the scan, and even non-magnetic metals, like gold, can conduct electricity, increasing the risk of injury.
At the core of this work are 10 simple MRI safety steps. These steps are now in place across UCSF MRI locations and are being shared through outreach, education, and internal communications. The goal is to make sure every patient knows what to expect and every staff member has the tools to provide a safe MRI exam.
10 MRI Safety Steps
- Meet Your Technologist
Every MRI begins with a personal introduction and explanation of what to expect during the procedure.
- Confirm Your Identity
Technologists verify each patient's name, date of birth, and the body part being scanned.
- Safety Screening
Before entering the MRI area, all patients must complete a safety screening form that identifies any potential risks.
- Review Answers Together
Technologists will go over the safety form with the patient to clarify details and double-check that everything is correct.
- Metal Check
A wand is used as an additional safety measure to help identify any metal on the body.
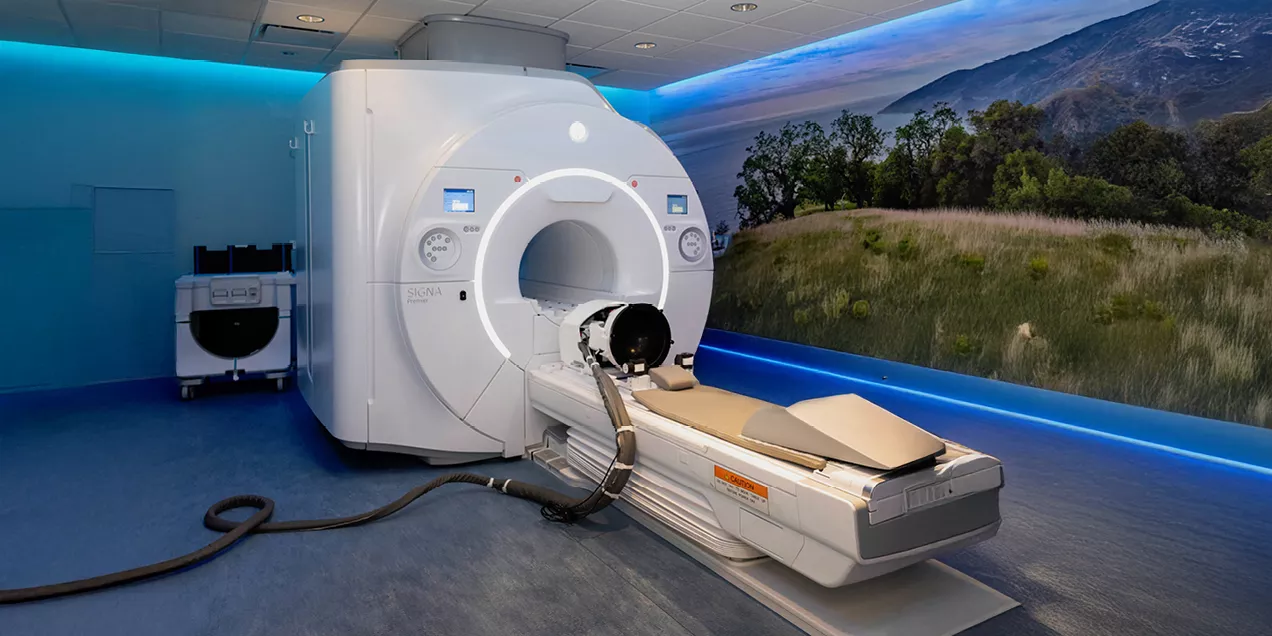
- Set Up Equipment
MRI coils are placed around the area being imaged to ensure optimal image quality.
- Squeeze Ball
Patients receive a squeeze ball to signal the technologist during the scan if they need assistance or feel discomfort.
- Comfort and Safety Padding
Padding helps prevent pressure points, skin-to-skin contact, and thermal injuries during the scan.
- Earplugs
All patients wear hearing protection to reduce the high noise levels produced by the MRI scanner.
- Final Position and Communication
The technologist confirms the correct positioning for the area to be scanned and tests communication via intercom.
Why These Steps Matter
MRI environments pose specific safety risks that differ from other imaging procedures. Strong magnetic fields, radiofrequency exposure, and acoustic noise are just a few elements that require structured preparation. Standardizing these 10 steps helps ensure patients are properly screened, positioned, and monitored.
For example, inadequate screening for implants, wires, or metallic objects can cause serious injuries. Failing to use proper padding or hearing protection can lead to preventable burns or hearing loss. Burn injuries during clinical MRI are avoidable when appropriate precautions are taken. More than half of all burn incidents involve skin-to-skin contact or contact with MRI bores. Projectile-related injuries can be prevented by implementing proper access controls and screening procedures.
Supporting Safe MRI Workflows
UCSF uses a zone-based model to control access to MRI areas and prevent unauthorized entry. Pre-visit screening and on-site metal detection help identify potential hazards before a scan begins. Devices are evaluated using guidance from the American College of Radiology (ACR), which sets national and international standards for MR safety. Guidance shaped in part by UCSF's own expertise. Michael Hoff, PhD, is a contributing author of the 2024 ACR MRI Safety Manual.
Staying Up to Date
UCSF's MR Safety Committee meets monthly to discuss and review MRI safety policies, and updated guidance is available at the MRI Safety Guidelines page.